Famicom English Conversion
Mid-Week Summer Project!
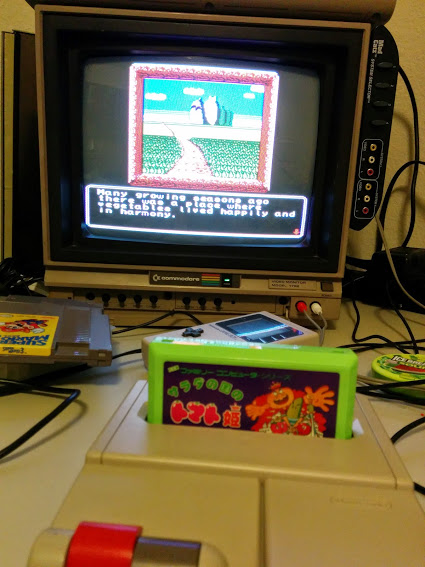
Synopsys: In 1985 Nintendo released the Nintendo Entertainment System in North America to huge commercial success. This was particularly impressive due to the fact that the home video game market was in a slump caused by a market flood of cheaply made games and systems. Part of the reason the NES was such a success was that Nintendo marketed the console as a complete “home entertainment system” that was so much more than just a video game console. It wasn’t really, but the marketing paid off. That’s why it looks more like a VCR than a video game system, and the first release was even bundled with a robot! Two years earlier, Nintendo had dome something very similar in Japan by releasing the Family Computer, or as it’s more commonly known the Famicom. The two systems were essentially identical internally but had vastly different designs aesthetically. One important difference was that games for the Famicom had a smaller 60 pin form factor as opposed to the NES’ wider 72 pin connectors. Interestingly enough, several early NES games were just the Famicom pcbs with a converter inside. There were 2 models of the NES produced as well as 2 models of the Famicom. What’s interesting is that the 2nd model of both the NES and the Famicom looked almost exactly alike, but with some pretty important changes internally. The 2nd model NES (the “toploader”) only had RF out (remember the old single wire coaxial cable for your TV?) That produced pretty poor video. The 2nd model Famicom however featured full composite (RCA) video which produced arguably the best video signal of any of the 1st generation Nintendo consoles. So, I bought one. It’s still possible to play NES games with a 72 to 60 pin converter. However Famicom games are readily available and even after importing they’re usually cheaper than the NES counterparts. The one issue is that all the text is in Japanese! Some games that don’t have much text (Mario Bros.) are easily playable, but some games have more text and are nearly impossible. That’s where this project comes in! I’ll be converting a Japanese Famicom cartridge to the English version.
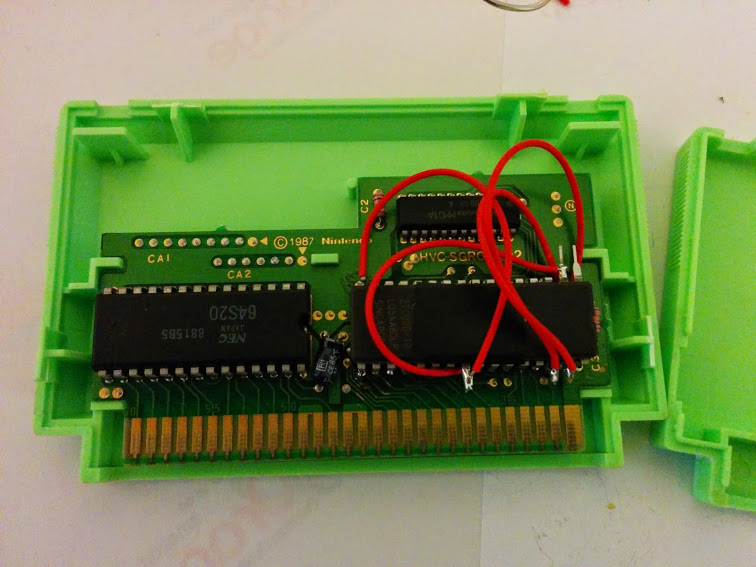
Details: NES/Famicom games are distributed online as ‘roms’ which is just one file. There were several different hardware revisions of cartridge PCB’s due to the limited way the NES could access them. In this project the game is fairly simple with only one rom chip and one ram chip. This makes the conversion easy since only one chip will have to be replaced. I popped the famicom game open (easier said than done!) and desoldered the ROM chip. Then I got the equivalent EPROM chip and flashed it with the English version of the game. Unfortunately the stander Mask ROM the cartridge uses isn’t pin compatible with a standard EPROM so a few legs of the chip needed to be lifted and rerouted to other ports on the PCB. Luckily only about 3 pins need to be changed. Pop it in and solder it up and I was in business! It’s been kind of a dream of mine to do this some day so I was pretty excited to see it worked. I can’t wait to do more!
Difficulty: Desoldering chips isn’t super fun…
Frustration: Skipping lunch
Payoff: Years of waiting and wishing!
Overall Project: A really nice learning experience