Winning The Fight Against OG Images
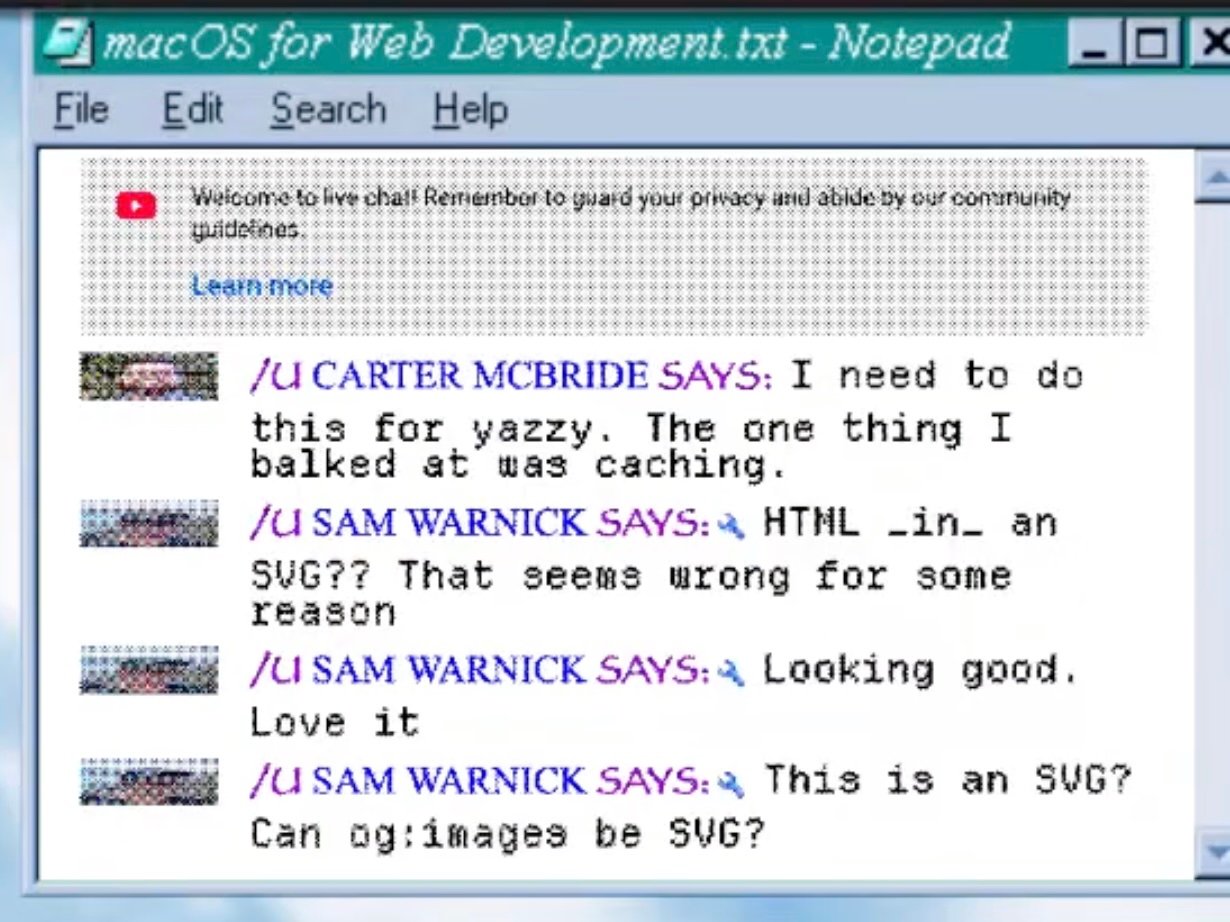
Open Graph images are the bane of my existence.↗ Seeing a beautiful one in a link preview in iMessage or Discord is just a chef’s kiss. But for whatever reason, generating them has nearly destroyed me. Last June, nearly a full year ago, I spent 4 hours on stream designing and coding up some super fancy solution using Cloudflare Workers. I thought I’d be super smart and cool and use an SVG to do it since an SVG is technically an “image” and of course og:image supports SVG, right??? Wrong! I honestly don’t even know what formats are supported, but I know for sure SVG is not.
The Backstory
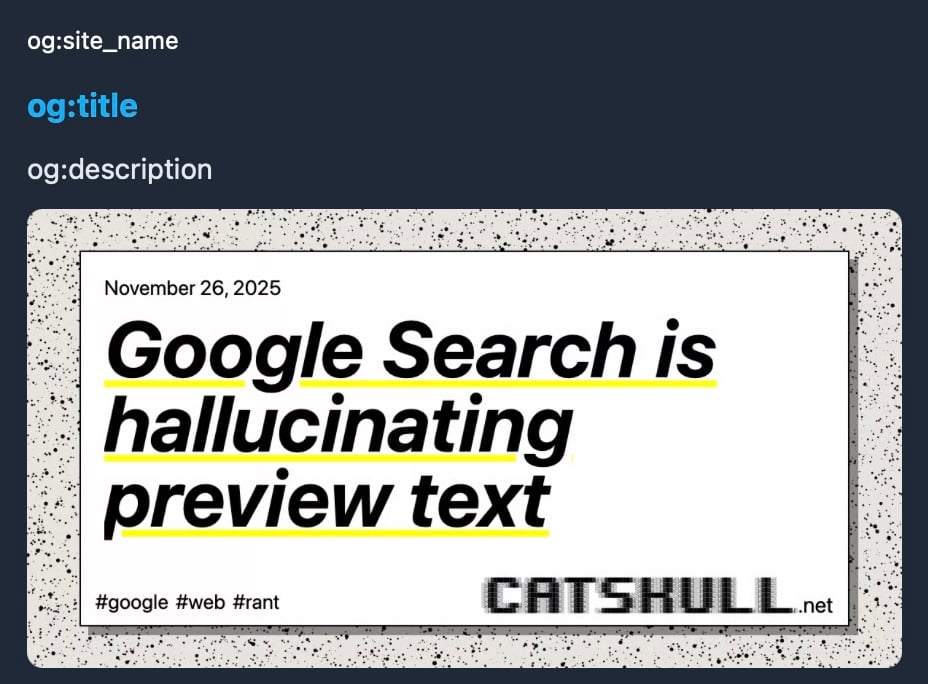
The “Open Graph protocol” (wiki↗) is some random crap that Facebook cooked up back in 2010 to make web content shared on Facebook look better. It’s not an official specification and how applications use it is pretty much just random. At its core, it’s just a bunch of special <meta>↗ tags. However, as of the Year of our Lord 2026, the only thing that you really need to worry about is og:image, og:title, og:site_name and og:description. Rather than describe what each of these is, I’ll just show you:
Even on top of the unofficial and random spec that is “Open Graph”, there are seemingly endless additional properties and fields that random applications have added. Twitter is the most notable case here, but really there is no set standard or predictable way to figure out how to specify the preview content when sharing a URL in an application. It just varies! Even Google search is now showing its own AI slopified page summary in search, instead of the established <meta name="description"> that’s served the web well enough for the last 20 years.
The Problem
Leaving aside the boutique implementations of link preview images, I focused only on getting them to show up in Discord, Mastodon, and iMessage. These applications seem to at least attempt to follow the fledgling “Open Graph” protocol. Since I know for sure now that SVGs are not supported, it needs to be a proper “image”. Previously my site has been using a single static image in WebP format for all links. It was fine, but I wanted the image to reflect more closely what the content of the page would be. It should be a nice little enticing preview! At a bare minimum, this would include things like a date, the page title, and the site name.
But how to generate a bunch of custom images on the fly? How to template the images? I wanted something fully automated and custom designed, and I didn’t want to add a heavy media processing pipeline to my application. I wanted it to be as close to how the rest of the website is built as possible, not some custom ImageMagick or ffmpeg design system. I really like HTML and CSS. Generally speaking, they are really powerful and modern web browsers are really, really good at rendering them. I can’t think of another content layout system that is as powerful and flexible as HTML and CSS, not to mention ease of use and interoperability. This is why I initially leaned toward SVG, since it’s actually basically fully interoperable with HTML including having HTML in an SVG and having SVG in HTML.
Another problem is where to store all those images? Compared to plain text HTML, CSS, and JS files, images take up a lot of room! I don’t want my git repo to be gigantic, but it felt like the og images should live beside the content. Sam feels very opposed to storing media in his blog repo, which I think has merit, but I also think that having a single source of truth for the content makes sense for me. I already cache everything with Cloudflare, and I optimize my images with their image transformation service so images are served over the network as efficiently as realistically possible.
My Solution
This blog is produced with the Jekyll static site generator. I prototyped a basic og:image design with HTML and CSS. One really nice feature of web content is that it is pretty good at fitting dynamic content into fixed-size content areas. For example, if a blog post has a title of “My Story” and another has a title of “My Incredible Journey: In and Out of the World’s Top Businesses”, web layout engines are smart enough to fit both of those into the same content area. For og:images, this is important because the images are (almost) always exactly 1200x630 pixels. Like I said, there’s not any kind of hard rule here; these are just the most common conventions and there are just as many exceptions to every rule as there are reasons why the rule exists in the first place.
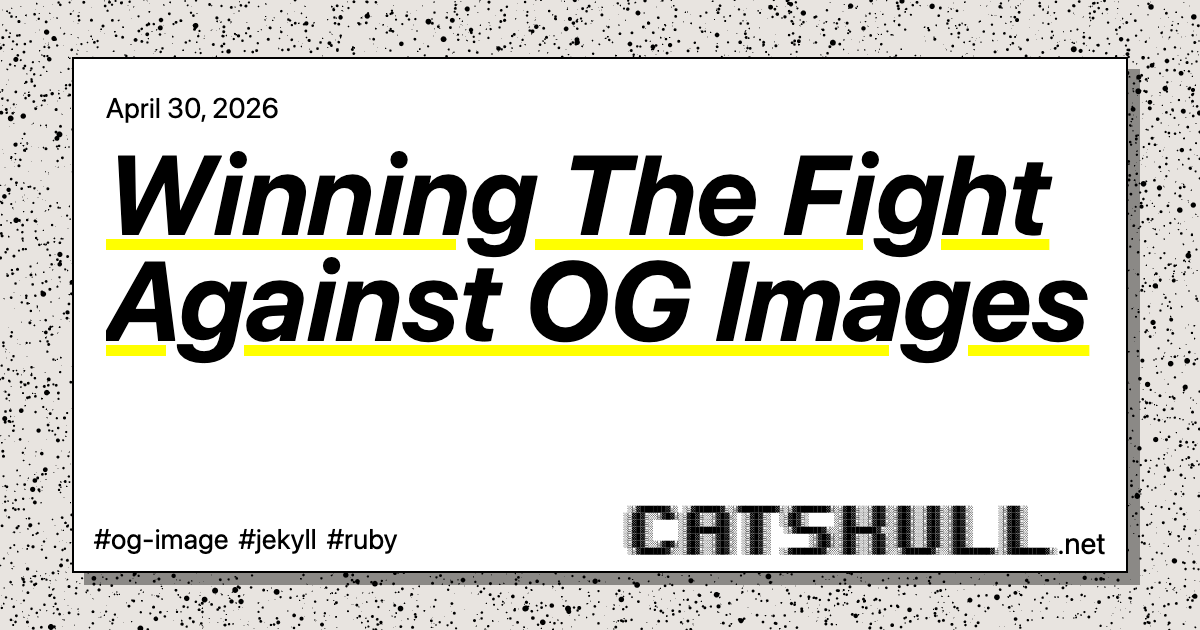
I had Claude cook up a decent HTML page that worked across a variety of titles. It even made a cool splatter/TV static style randomized background using a canvas. Here’s the design I settled on:
But how to convert an HTML page to an image? There are a lot of solutions to this and they all vary in complexity. To me, it made the most sense to generate the images during the development build process. I wanted to create a new blog post and have Jekyll automatically generate the image for me. I also didn’t really want to pull in some complicated gem dependency to do it. I also wanted it to be “fast”.
Enter ferrum
In 2026 people do be like “ruby is an outdated ecosystem, that’s why I’m switching to the most complicated JS toolchain my AI token spend allowed me to hallucinate”. To that I say, good luck and have fun! I found the ferrum gem↗ which works with a standard Chromium installation to control it, similar to any of the other standard browser automation tools, but it felt way more lightweight and a lot easier to use. Yeah I know, a hard dependency on Chromium for my blog is not great and is a lot heavier than some simple ImageMagick install. But I already have ungoogled-chromium↗ in my Brewfile for no apparent reason other than to use it with Amazon Luna to play Forknife with my kids (which I haven’t done in well over a year). It just feels like a decent thing to have around, and running a completely de-Googled Chrome feels very punk rock to me. I wasn’t sure if it would work with ferrum, but it “just did”. Straight up, no problems, and it was fast!
I decided I wanted to make a Jekyll plugin that would hook into each page’s generate function. I could add the gem only in development mode so my GitHub Action would ignore it. I wanted to have my og image templates follow Jekyll’s built-in templating and layout as closely as possible. I wanted them to just feel like normal off-the-shelf Jekyll pages, just special for images. In Jekyll’s _config.yml, an og image template is specified by either collection or path. I needed a path override for special pages like the site’s index page, which is technically part of the pages collection but should be unique. I actually have quite a few collections now for recipes, playlists, podcasts, newsletters, and more.
Any time Jekyll builds a new page in development mode for the first time, my gem will read the config, render the template passing in that specific page’s front matter, open the page in Chromium, and take a screenshot. The screenshots are all named accordingly and saved to my site’s /assets directory. There’s really not much else to say about it, other than it’s really fast. Generating all 239 unique images for every page in my blog takes just over 27 seconds. Subsequent runs have no additional build time added.
It just so happens that I recently turned 35, so I decided to take the day off work and ended up working on og images all day. It took quite a bit of testing and debugging, but it all worked! I should say it worked surprisingly well, too. I even got everything buttoned up and pushed the plugin gem to RubyGems.org. This was only my second ever gem, so it was fun learning about how to do that.
Conclusion
I’m super proud of what I came up with! Especially considering that I’d tried at least one other time and completely failed. ferrum is a cool gem, and I think I’ll probably find other uses for it in the future as well. If you’d like to use this for your blog, see the jekyll-templated-og-image↗ gem on GitHub.