Lagrange Point Famicom English Hack
A few posts back I documented converting a Famicom game (Princess Tomato and the Salad Kingdom) to use the English translation. Since that went so well, I finally had the courage to try the game I really wanted to do: Lagrange Point. I think it’s fair for me to do a little background on this incredible game.

Lagrange Point was developed by Konami and released in Japan for the Nintendo Famicom on April 26, 1991 (two days before I was born!). It’s a totally rad space opera rpg with some unique game mechanics that make it quite fun. It also had some audio features that I’ll go into more detail about.
The Famicom supported “expansion audio”. That is, game cartridges were able to have their own sound chips to expand what the Famicom was normally capable of making. Several games took advantage of this, such as Castlevania 3. In fact several Konami games used that feature. Perhaps one of the most unique was Lagrange Point. It was one of two games to use the Konami VRC-7 sound chip. The VRC-7 was extremely unique because it was an FM synthesis module. I won’t go into detail on what exactly FM sound synthesis is (mostly because I don’t really know), but I can show you an example of what it sounds like. The Sega Genesis was perhaps the most famous home console that used an FM chip (one very similar to the VRC-7) for it’s sound. Here’s a video to show what it sounds like:
You can probably hear for yourself the difference a lot better than I can explain it to you. Now, imagine having that sound capability as well as the somewhat excellent sound capability the Famicom already had! Pure retro soundtrack goodness. I suggest you listen to Lagrange Point’s soundtrack while reading the rest of this post (and while you are, think about how primitive the original Mario Bros. sounded compared to something like this):
Due to some complexities Lagrange Point has, it wasn’t until very recently that it was fan translated into English. Huge thanks to excellent hacker group Aeon Genesis (the guys that originally translated Cave Story as well) for the awesome job they did! Check out the translation patch here.
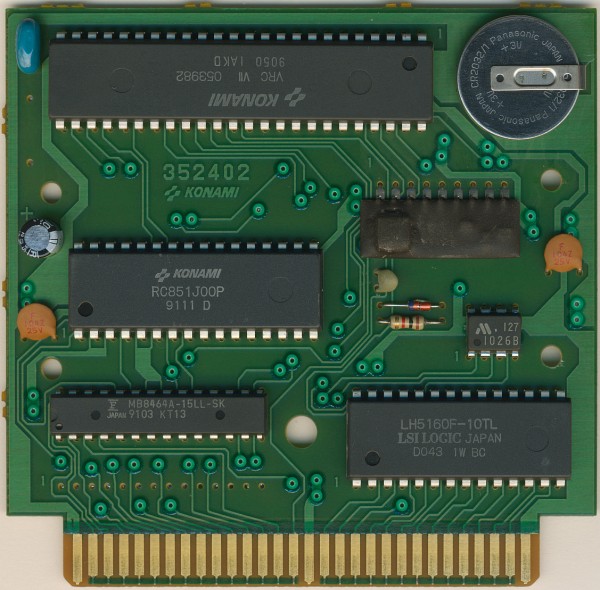
One difference between Lagrange Point and other Famicom games is that Konami themselves actually produced the boards. This is for our advantage! As you may have seen on my other cart hack, the mask rom and the eprom did not have equivilant pinouts so it was necessary to lift some of the legs and jump around with some wires. Luckilly, Konami used the standard eprom pinouts on their mask rom. What this means for us is that we can simply drop the new eprom in place of the old one! No lifting or jumping required! How thoughtful of them! So really it was quite simple to do.
I used a 27C4001 eprom made by ST Microelectronics. I was able to find 10 of them on eBay for $10 shipped. Not bad! You can use this chip in a lot of Famicom/NES reproductions, so you’re probably safe to stock up on them. Lagrange Point has only PRG-ROM so only one chip was required. Flash that puppy and drop it in and you’re in business!
There were a few things along the way that I’d like to have documented for other people that may want to do this. First, Lagrange Point takes about 1 full second to go from a grey screen to the starting screen. So if you’re just testing it out, make sure you don’t just turn the console on and off quickly thinking you’ve failed. Leave it on for a little bit!
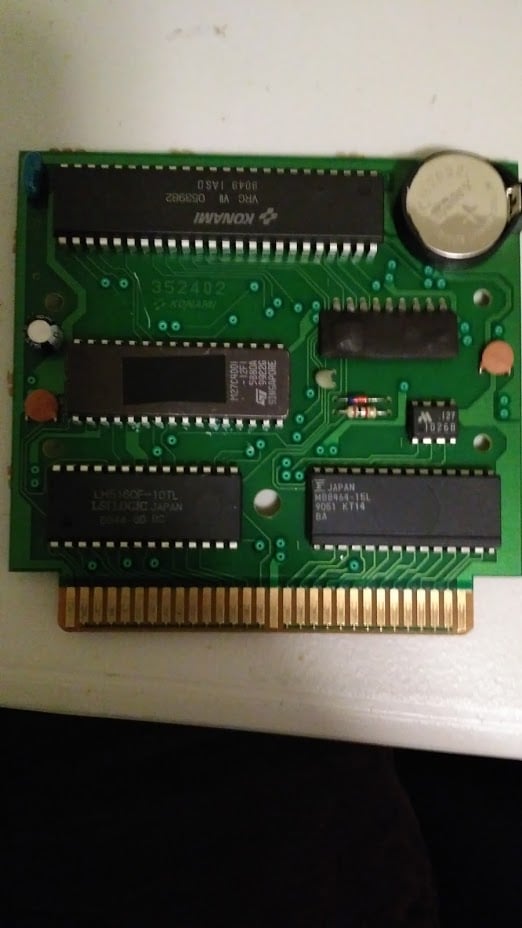
I’ll repeat it again: you don’t need to lift any legs on the eprom. Just remove the mask rom and put your eprom in it’s place. Pin one should go on the bottom left. The mask rom also has a circle by pin one. Make sure your rom is the correct orientation!
I also was able to replace the battery and put a socket in it’s place for easy changing in the future. I used this socket. It was just a little bit too long, so I had to bend the legs in a tiny bit, then I used a clamp to make it flush with the PCB while I soldered it in place. It fit back inside the cartridge shell with no problems!
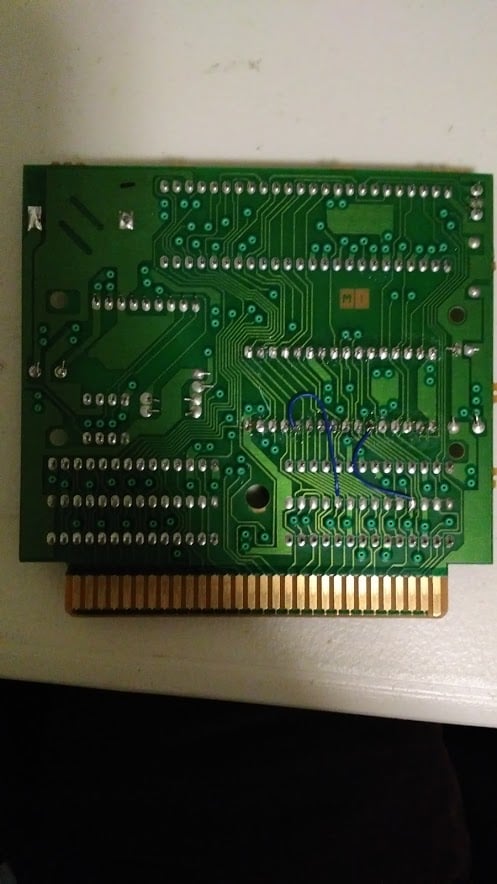
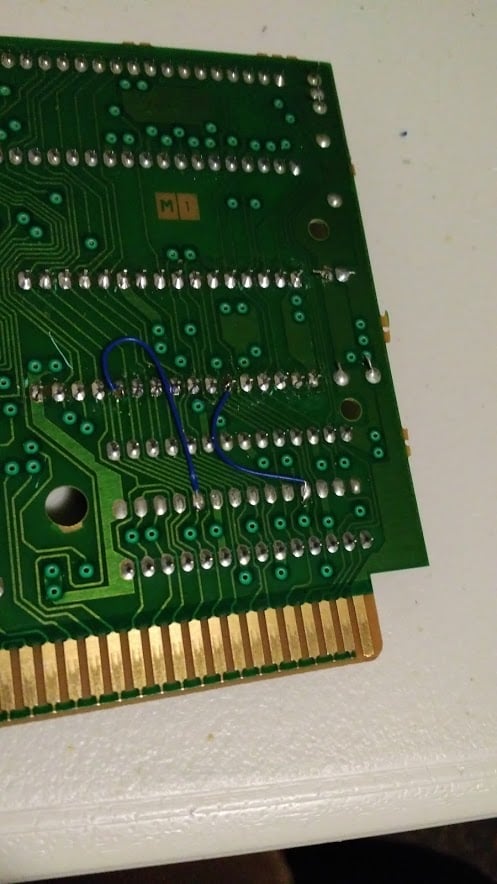
Initially I thought I still needed to lift the legs and use wire jumpers. Once I figured out that I didn’t, I put the rom back in couldn’t get it to work. I may have not been leaving the console on long enough, or I may have damaged my rom. Eventually I just used a new eprom and it worked the first time! However, by removing and socketing the rom so many times, I damaged my board! Two pads were lifted, so I just traced the routes and jumped those pins to where they needed to go. Not ideal, but it works without problems. I absolutely hate to damage a game that’s so unique and relatively expensive.
I hope that this post can help others who might want to try this themselves, and hopefully prevent people from breaking their boards! Please get in contact with me if you have any questions at all!
Here’s some pictures:
Here’s the original pcb taken from bootgod.dyndns.org:777 (the cart at the top is taken from there as well):